Introduction
When it comes to reproducing art for prints, artists and photographers can be perplexed about which method to use: scanning or photographing the artwork.
Scanning is preferred as it captures intricate details and colors with great accuracy. It yields prints that are almost identical to the original art.

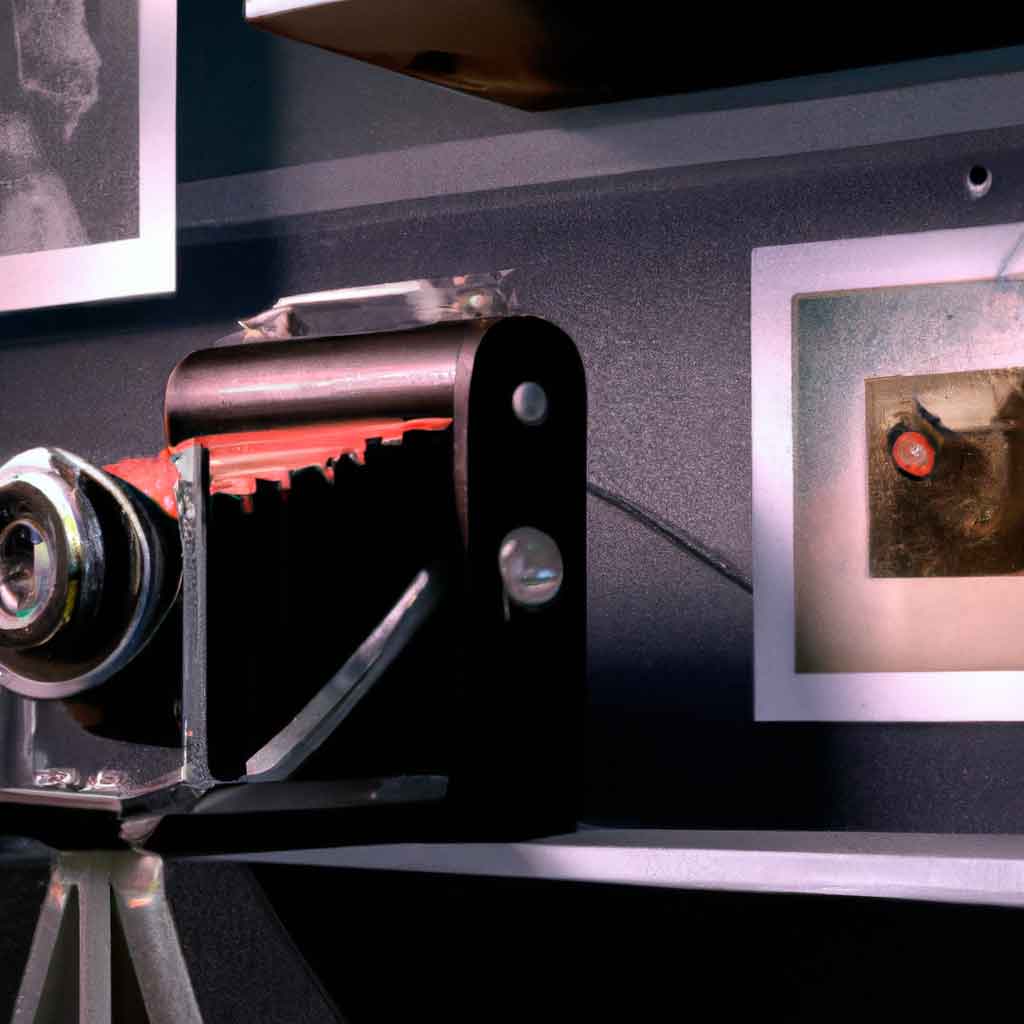
Photographing, on the other hand, requires special equipment and lighting, and may lead to loss of detail in the final print.
Scanning art also reduces color correction during post-processing. It creates accurate colors and tones, as well as digital files that can be edited without damaging image quality.
The cost of scanning artwork can vary. But considering its advantages and long-term value, many artists opt for scanning over photography.
We heard from a renowned artist who had been photographing her paintings for years, but was unable to reach the same quality when she began getting them scanned professionally. The difference in detail was remarkable. She eventually realized that good cameras and lenses do not always suffice, and that capturing an art piece with that level of detail requires professional-grade scanners.
Scanning vs photographing art for prints: It’s like choosing between a precision surgeon or a blindfolded archer.
Differences between scanning and photographing art for prints
Scan vs Photo Art for Prints: What’s Better?
Pros & cons of each method can help you decide.
Scanning:
- – High-res scans capture details.
- – Depth perception considered.
- – Colors accurately reproduced.
Cons:
- – Expensive equipment needed.
- – Time-intensive process.
Photographing:
- – No scanner needed.
- – Easily adjusted.
- – Quick process.
- – Minimal setup.
Cons:
- – Might need more retouching.
- – Glare/reflections can be introduced.
Scanning best for small-medium flat pieces. Photographing better for larger canvases/sculpture.
For color accuracy & minimal retouching, scan. Irregularly shaped pieces? Photograph.
It’s up to you – decide based on your situation. Don’t let FOMO win! Scanning art for prints: the perfect way to immortalize a masterpiece, or the ultimate betrayal of a one-of-a-kind creation? You decide.
Advantages and disadvantages of scanning art for prints
To weigh the advantages and disadvantages of scanning art for prints with higher resolution, as a solution, we introduce two sub-sections: “Higher Resolution” and “Cannot Capture Certain Textures and Colors.”
Higher resolution
Art Scanning for Higher Quality Prints
A high-quality print needs a higher resolution scan of the original artwork. Professional scanners can grab each detail and texture. This creates a digital file that looks like the artwork’s unique characteristics.
| Advantages | Disadvantages |
| Final prints have a high-quality resolution that is accurate. | Scanning art can be costly. Especially if you don’t have access to professional equipment. |
| The scanned image is great for replicating the artwork in various formats and sizes. | The scanning process might damage delicate art, especially if it is old or fragile. |
| The digital image can be edited and enhanced to improve clarity, sharpness, and color accuracy. | Scanning art can take time. Especially if many artworks need to be scanned. |
A higher resolution scan captures even the smallest detail. Like brushstrokes, colors, shadows & highlights. It ensures that fine details are not lost when changing size.
In the past, artists had to make replicas of their work by hand. The copies were never perfect. But, modern scanning technology makes it possible to replicate art accurately. You need state-of-art equipment and a higher resolution. Trying to capture a rainbow with a black-and-white camera is like scanning art.
Cannot capture certain textures and colors
Scanners have limitations when it comes to capturing the range of colors and textures in art. Resolution can miss out on differences in shades and tones, leading to an incomplete replication of the artwork. This can be especially true for complex pieces with intricate color schemes or textures. Scanning may offer an easy way to produce prints but you should think about these limitations first.
You can adjust the scanner settings to try and capture more details and colors. However, this may not fully solve the problem and could distort the original work. You could also explore other printing methods that may be better suited. It’s important to review the scans before printing to make sure they represent the artwork accurately.
When reproducing artwork, it’s important to consider the trade-offs between convenience and quality. Don’t rush into decisions as there could be a loss of texture and detail. Scanning may be a convenient way to print, but it should always be done with caution.
Advantages and disadvantages of photographing art for prints
To weigh the pros and cons of using photographs for art prints, you can consider a few key factors. Specifically, capturing textures and colors accurately can be a major advantage. However, keep in mind that this method often yields lower resolutions. In order to make the best decision for your artistic needs, it’s important to understand these benefits and drawbacks.
Captures textures and colors accurately
Capturing textures and colors accurately, photographing artwork allows for true representation of colors and textures, creating an accurate print. The camera’s white balance ensures the colors are exact, and high-resolution images showcase even the smallest of brushstrokes and marks.
Photographing art offers more than just color accuracy and texture definition. It eliminates many scanning issues that occur with traditional methods like lithography or intaglio. Additionally, higher resolution cameras can capture even the most minute details.
A Getty Museum study found that up to 20% of inkjet reproductions sold on eBay were based on unauthorized photographs. So, it’s important to ensure artists give permission before their work is photographed for printing.
Photography brings vivid details of artwork to life, making it stand out and thus its immense popularity among photographers. Even the Mona Lisa needs some pixel therapy when photographed at a lower resolution!
Lower resolution
Photographing art for prints can reduce the image quality, known as a decreased resolution. Reasons for this include lighting, camera settings and the zoom level. There are benefits and drawbacks to this.
A downside is that the print won’t show the fine details of the original artwork. This could weaken the piece. On the flip side, there can be advantages. The table below explains:
| Advantages | Disadvantages |
|---|---|
| Smaller file size | Reduced image quality |
| Easier printing | Loss of detail |
| Quicker processing | Potential distortion |
Lower resolution should always be kept to a minimum. To do this, use a tripod for stability, higher-quality lenses and editing software.
Choosing between scanning and photographing art is like deciding between a photocopier and a camera – both have their pros and cons, but only one can capture the true essence of the art.
Factors to consider when choosing between scanning and photographing art for prints
To make the right choice between scanning and photographing your art for prints, you need to focus on the three major factors- the purpose of the print, the type of art, and the equipment available. These sub-sections can really help you decide which method suits your art best and brings out the true essence of your work. Consider each of these factors carefully before making your final decision.
Purpose of the print
For the best printing results, it is important to consider the intended use. High-resolution scans are better for large-scale reproduction or wide-format gallery display. But for digital purposes like social media or online sales, a photograph can be enough. Factors like detail level, lighting, and equipment should be taken into account when deciding between scanning and photographing.
Scanning offers more precise color matching and higher image resolution. Thus, it is perfect for details. A photograph may capture textures better in some lighting, but extra editing may be needed for accurate colors.
Quality should come first when reproducing art for prints. It must match the original as close as possible. Cost and time constraints should also be considered.
Art Galleria found that 67% of consumers think print quality affects their perception of art. Therefore, it is essential to have quality prints when showcasing artwork.
Whether it’s a masterpiece or your toddler’s scribbles, scanning or photographing can make it suitable for framing.
Type of art
Considering the type of artwork? Scanning or photographing? It depends. Paintings? Fine details and texture? Or is it a sculpture? Not ideal for capturing 3D aspects. Drawings? Need a flatbed scanner.
| Type of Art | Scanning | Photographing |
|---|---|---|
| Paintings | Details & Texture | Glare & Color Distortion |
| Drawings | Flatbed Scanner | High-quality Camera |
| Sculpture | Not ideal | Unique Angles & Perspective |
Each artwork is different. Pros and cons to weigh. Also, size matters. Complex set-ups? Photographing may be better. Sharp focus, accurate color, no artifacts? Professional-level equipment. Stunning reproductions? Proper setup.
Mona Lisa? Smartphone and lighting won’t cut it.
Equipment available
When selecting between scanning and photographing artwork, equipment is an essential factor. Resolution, quality, lens, lighting, tethering or wireless capabilities, and size are all core considerations. It is also important to consider the artist’s experience level with each option, as each requires unique techniques.
When weighing up these points, it is important to know your needs before making a decision. Historically, scanning was mainly used for archival or insurance purposes. Now, though, modern technology can produce high quality prints from scanned images. Color accuracy has also improved in photographing, giving individuals more options than ever for reproducing their art. As technology advances, so too do the options available to artists.
Best practices for scanning art for prints
To ensure high-quality prints of your artwork, use the best practices for scanning art. Cleaning the artwork, adjusting the settings, and quality control are the essential sub-sections that you must follow to achieve the best results. By precisely following these sub-sections, you can attain a perfect digital replica of your artwork that will print flawlessly.
Cleaning the artwork
To get art in prime condition for scanning, its cleanliness is key. Here’s how to keep it ready:
- Dust off with a dry microfiber cloth or soft brush.
- If there are stains or smudges, use a damp cloth carefully. Don’t use too much water – it can damage the medium.
- Let the art air dry before putting it on the scanner.
Handle art with extreme caution and use professional cleaning services if needed.
For the best scanning results when printing art, keep it dust and grime free.
Fun Fact: Scanning technology let us print facsimiles of famous paintings like Van Gogh’s “Starry Night” all over the world. (Source: Smithsonian Magazine) Find the best settings for your artwork like it’s a dating app!
Adjusting the settings
Fine-tuning your scanner is vital for obtaining accurate and high-quality prints. In this section, we’ll look at how to adjust settings for desirable results.
- Calibration. Calibrating your scanner before every scan ensures colors are accurately captured and the images are sharp. This step sets a baseline and maintains consistency.
- Resolution. Increasing resolution improves quality but also file size. Choose an appropriate resolution that fits your needs without compromising image quality.
- Color Space Adjustment. Color space is key for fine-tuning scanned images. Select a color space that reflects the desired print. This helps avoid errors like color shifts or blurs.
Remember to save profiles so they can be used for future scans. Experimenting with settings gives more options when scanning art pieces.
Did you know? The process of adjusting settings on scanners has become more complicated over time. Digital printing used to be a challenge due to technical issues, but technology has improved the field. Even the Mona Lisa had to go through quality control.
Quality control
To guarantee the accuracy and excellence of scanned art, a process called ‘Quality Assurance’ is used in the printing industry. It evaluates the scanning procedure from beginning to end to spot any irregularities and discrepancies which can affect the quality of the final print.
The table below outlines important elements that should be closely monitored during Quality Assurance:
| Elements of Quality Control | Description |
|---|---|
| Scanning Resolution | Check if resolution requirements are met |
| Color Consistency | Verify color accuracy and consistency |
| Image Distortion | Check for text distortion or skewing |
| File Format Testing | Confirm printer and publishing network compatibility |
Additionally, light sources, heat, and humidity levels should be taken into account while scanning.
Peer review is also an essential part of quality assurance inspection. Having someone else go over the scan can help identify areas that may have been missed or need extra correction measures.
Experts at Next Day Flyers found that skipping quality control in printing can cause significant losses. Up to 40% of printed materials need to be redone due to poor printing quality when there’s no quality control measure.
Best practices for photographing art for prints
To ensure you get the best quality prints of your artwork, it’s crucial to follow the best practices for photographing your art pieces. In order to achieve perfect prints, this section on ‘best practices for photographing art for prints’ with sub-sections including ‘proper lighting’, ‘camera settings’, and ‘quality control’ provides you with all the solutions and recommendations you need to capture your artwork in the best possible way.
Proper lighting
For perfect art prints, get the right lighting! Natural light is great for soft, even lighting from all angles. But for larger artworks, artificial lighting provides more control over contrast and intensity. Diffused lighting techniques with neutral tones like white, grey or black help eliminate distractions. Angle the lights properly to avoid reflections and overexposure! Plus, keep the camera stable during shooting.
Pro Tip: Turn off fluorescent lights before photographing your artwork – they can change the colors over time. To get the perfect lighting for your art piece, adjust your camera settings just like you would for a murder scene – all about setting the mood!
Camera settings
Taking pictures of art for prints is a must. It’s key to get the camera settings right. The tone, color, and sharpness must be accurate. Here’s a table with the recommended Camera Settings:
| Camera Settings | Description |
|---|---|
| ISO | Between 100 to 400 |
| Shutter Speed | Use a tripod and set to 1/60 or above |
| Aperture | Between f/8 and f/11 for good depth-of-field |
Manual mode gives more control over the image. RAW format gives flexibility in post-processing. Light is very important. Natural light is best, or use flash with a diffuser if needed.
Pro Tip: Clean both sides of the artwork before shooting. Even tiny specks of dust can ruin the photo. It’s not just a print of the artwork, it’s a piece of art in itself. Check for any flaws or imperfections, unless that’s the look you’re going for.
Quality control
Keeping the Artwork in Check:
To guarantee your photographed art is of the finest quality, put a few measures in place. Quality control – image must be glare-free, color-corrected, sharply focused and a true representation of the artwork.
It’s wise to take multiple pictures of the same piece for the ideal shot.
Let’s look at extra strategies that can add value to your prints.
- Unique angles and perspectives can provide depth and character to your work, and give a fresh outlook.
- Check for any issues before and after taking a picture. Missed opportunities mean missed profits! Optimize your photographs of artwork with these best practices to prevent that from happening.
Photographing art is like capturing a soul on camera. Just remember to use the right lighting and framing so it doesn’t haunt you later.
Conclusion
When it comes to reproducing art for prints, the method of choice varies. But certain factors, like size and printing needs, can guide you. Scanning is great for smaller pieces that need high resolution and color accuracy. Photographing works well for larger pieces or textured surfaces. Each method has benefits and drawbacks. Test both with your set-up before deciding.
Pro Tip: Make sure you have plenty of lighting to avoid glare.