Preparing the Surface
To prepare the surface for achieving that perfect old and rustic look with the help of sanding, cleaning, and possibly applying paint stripper (optional) is what we have in store for you in this section. The focus is to appropriately set the base for your project, and sanding, cleaning, or using paint stripper may be necessary for the surface to look properly aged and rustic.
Sanding the Surface
Surface Smoothing is an important process to get rid of imperfections and rough areas. Here’s an easy 6-step guide to follow:
- Cover any surrounding areas that need protection from debris or dust.
- Choose the type of sandpaper: grit number 60 for heavy sanding and grit number 120 for medium or light sanding. Attach it to a machine sander or use it by hand.
- Move in a consistent back-and-forth motion across the entire surface area.
- Regularly check for evenness by placing your hand over the surface.
- Gradually change to smaller grits until achieving the desired softness.
- Clean up all dust with a tack cloth or vacuum.

Beginners should start at a slow pace with gentle hands-on techniques. Excessive sanding may remove too many layers of texture, so pay close attention! Once sealed, give extra attention to edges and corners before staining.
Sanding properly helps get rid of paint drips, scratches, and chipped materials, while providing an improved look to surfaces. Cleaning the surface is like therapy for your space – all the dirt and grime leave, and suddenly everything looks better!
Cleaning the Surface
Surface Preparation
It’s important to prep the surface before any task, ’cause a damaged or grimy one can leave a permanent mark. So, careful attention must be given to clean the surface.
Four Simple Steps for Preparing the Surface
- Sweep or vacuum off all loose debris and dirt.
- Use an appropriate cleaner, leave it on the area for few minutes, then scrub with a brush.
- Rinse with water to make sure no residue is left.
- Let the surface dry completely before going to the next step.
Unique details about Surface Preparation
In some cases, sanding might be required before cleaning or tough stains may need to be removed. Also, be aware of any sealants and finishes on your surfaces; harsh cleaners can damage them.
Don’t forget to prepare the surface properly before any renovation or cleaning project. Skipping this critical step could cause serious damage, which could be costly in extreme cases. Take care of your surfaces for long-lasting results! Applying paint stripper can be an option too – to get a fresh start by stripping away the past.
Applying Paint Stripper (optional)
To get rid of old paint, use paint stripper! It breaks down and softens the paint, making it easy to scrape off or sand. Here’s a 6-step guide to applying it:
- Read and follow instructions on the paint stripper label.
- Wear protective gear like gloves and goggles.
- Cover surrounding areas with newspaper or plastic sheet.
- Apply an even coat of the paint stripper with a brush or roller. Let it soak for a few minutes.
- Use a scraper to take off the softened paint. Repeat steps three to five until all paint is removed.
- Clean up residue with soap and water.
Remember, some surfaces need milder strippers. For instance, use methylene chloride-based strippers to strip metal quickly. Check what type of chemical works for your surface.
Be safe when handling chemicals! Follow manufacturer instructions. Then, start quickly to experience a fresh surface. Try these simple steps today!
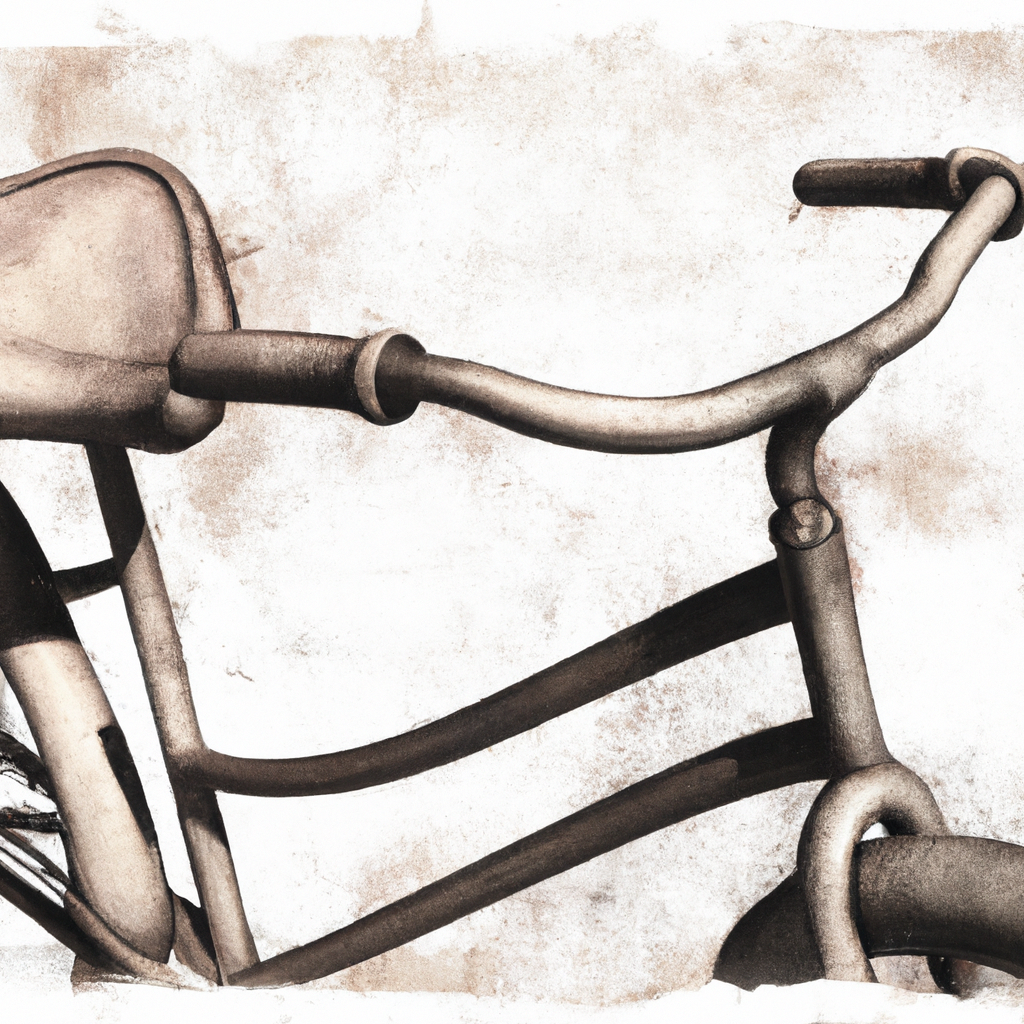
Technique 1: Distressing
To make something look old and rustic with the Distressing technique, you need to focus on the right tools and techniques. Choosing the Right Tools, Creating Wear and Tear, and Sanding the Surface Again are vital sub-sections that you need to keep in mind while distressing an item to give it a rustic and aged look.
Choosing the Right Tools
Select Appropriate Equipment
Using the right tools is essential for good results when distressing. Sandpaper, wire brushes, hammers, and other tools may be needed, depending on the material and the desired effect.
Different Tools for Distressing
Various tools are used for different degrees of wear and tear. Sandpaper can lightly scuff, while wire brushes can give texture and more damage. Hammers or heavy objects can create dents and grooves. Have a variety of options ready to experiment with.
Unique Considerations for Distressing Tools
Make sure the tools aren’t too rough for the surface. Start with smaller tools before progressing to bigger ones. This will let you try different techniques without permanent damage.
Don’t Miss Out
Knowing distressing techniques lets you add character and personality to interior design projects or handmade items. This knowledge can enable optimal creativity and impact. Get a ‘loved and lived-in’ look without the love or living!
Creating Wear and Tear
To get an aged or worn effect on surfaces, use distressing techniques. These create texture and color variations to get the desired effect. A common technique is to create wear and tear on materials to give them a weathered appearance.
Distressing can be done in several ways. Sanding wood, scraping paint off metal surfaces, using steel wool or sandpaper to scratch up the surface – all add dimension and character. Also, add color variations with watered-down paint and layers of different hues.
Embellishments like stencils and decoupage give the piece even more depth and character. To get the best results, experiment with different techniques until you get it right. Suggestions include using a spray bottle filled with water before painting, and letting the work dry overnight before adding more colors.
Distressing lets you transform new pieces into antique-looking treasures with charm and personality.
Sanding the Surface Again
Start by using a medium-grit sandpaper and briskly sand the distressed surface in a circular motion. Remove any old layers of paint or coating. Change to fine-grit sandpaper, creating finer scratches on the surface. Sand until satisfied with the finish.
Vary your angle for an even finish and use sandpaper across a wide range of grits. This will help you achieve a natural look. Place emphasis on smooth lines and unburnished areas to create a vintage and refined look.
Be patient and take breaks between rounds of sanding. The finished product will be worth it!
Technique 2: Staining
To achieve a rustic look, why not try staining your wood? In order to use this technique effectively, you need to master the sub-sections: choosing the right stain, applying the stain, and adding layers for depth. By following these steps, you’ll be able to transform your wood into a beautiful, weathered masterpiece.
Choosing the Right Stain
Choosing the right staining technique is key for optimal results. Consider the sample type and staining purpose. The correct stain enhances contrast and visibility of structures or cells.
Below is a table with common stains:
| Stain | Brief Description | Indication | Color |
|---|---|---|---|
| Hematoxylin & Eosin (H&E) | Basic dye combo for histological evaluation | General architecture & histopathology | Blue & Red |
| Periodic Acid-Schiff (PAS) | Carbohydrates detection | Epithelial glycoproteins or basement membranes in tissue sections or cells from blood or bone marrow samples | Magenta |
| Giemsa Stain | Bacteria detection, Malaria Parasites screening | Blood and Bone marrow smears. Urine sediment analysis. Microorganisms detection on tissues. Tissue cytogenetics | Purple & Blue |
| Crystal Violet Stain | Streptococcus identification | Bacteria classification by cell wall composition. Gram-positive bacteria under Gram staining. Congo red amyloids detection under Albert’s Staining. Fungi in microbiology. Leishman’s / Wright’s / Jenner’s stains used to visualize cell walls, nuclei, plasma membrane remnants. | Purple |
When preparing samples, take into account factors such as fixation method and rinsing times.
A Study published by ACS Omega highlighted the use of non-invasive analytical methods like FTIR spectroscopy and X-ray diffraction after staining with Vanillin-HCl, to predict the age of wooden objects and gain interesting insights into art history.
Get creative and brush up on your staining skills. A good finish is worth the effort!
Applying the Stain
Attain an impeccable finish with the Staining technique! It’s perfect for giving a uniform colour to any surface – be it raw wood or painted material. To get it right, prepare properly and follow these 3 steps:
- Cleanse the Surface: Start by scouring with a sanding sponge. Then, dust away particles.
- Apply the Stain: Wear gloves and use a brush to apply an even coating of the chosen stain. A cotton rag can help create a smooth finish.
- Wipe Excess off: After about 5 minutes, take a clean cloth and gently wipe away excess stain.
Before applying, make sure the stain is at room temperature and well stirred. Also, practice on a small surface first before tackling the desired area. Layers must be balanced for a masterpiece – just like an orchestra!
Adding Layers for Depth
Layers for Adding Depth:
Use several colors and tones to create a sense of depth in your artwork! Build up the colors one on top of the other to create a more complex visual experience. Here are some ideas:
- Use complementary colors in layers to add contrast.
- Darken edges with a deeper color for shadows.
- Try adding transparent layers for an ethereal effect.
- For texture, overlay small dots or lines in a different color.
Take your time and be patient. Don’t rush through it. Detail is key. This technique is often used in oil painting to create rich textures. Even Vincent van Gogh used it! So, get ready to unleash your inner Picasso with Technique 3: Painting. It’s going to be amazing!
Technique 3: Painting
To achieve that rustic and antique aesthetic, Technique 3: Painting is an effective solution with three key steps: Selecting Colors, Applying a Base Coat, and Adding Texture. These sub-sections will guide you through the process of choosing your colors, creating a solid foundation with a base coat, and finally, adding texture to mimic the natural wear and tear of aged objects.
Selecting Colors
Selecting the Right Colors: A Pro’s Guide
Artists of every skill level can benefit from knowing how to pick colors right. Here’s a pro-tip:
- Think About the Mood: Each color has a feeling associated with it. Decide what emotion you want your painting to show, and choose the colors to match.
- Use Color Theory: Studying color theory helps you mix shades and create a balanced, harmonious look.
- Experiment: Don’t be afraid to try unusual color combinations. You may be surprised by the results.
- Lighting Counts: Look at your work in natural and artificial light to see how the colors change.
Adding rich colors to your painting can be easy. Use pigments that won’t fade in sunlight. Winsor & Newton has researched their pigments so they last in bright light.
Covering your canvas in white is a must. It’s like the base of a great makeup look.
Applying a Base Coat
Base Coat Application: An Artistic Technique
Applying a base coat is an essential technique in the world of painting. It ensures that subsequent layers stick without any blemishes. Here are 5 steps to apply a perfect base coat:
- Prepare the surface – Clean with soap and water, sand if needed, let it dry.
- Pour paint into the tray and dip the roller or brush.
- Apply the first layer using horizontal strokes (roller) or one-directional strokes (brush).
- Wait for it to dry, then apply another layer. Repeat until it’s even and opaque.
- Let the final coat dry before adding any more paint or finishes.
Remember to choose the right color that complements the painting’s color scheme.
Base coats date back centuries when artists would use lead white as foundation for oil paintings. They used complex techniques such as glazing and impasto to create depth and texture. Now, many types of base coats exist from traditional powdered pigments with egg yolks to modern synthetic formulations. In any form, a well-done base coat is key for any artwork.
Adding Texture
Turn a simple painting into a remarkable one with texture! Here’s a six-step guide to help you.
- Choose the right surface: Canvas, wood, and paper are great options.
- Prepare your surface: Apply gesso for a barrier between your surface and paint.
- Choose the right medium: Acrylics, oils, and pastels work well.
- Use tools to create texture: Brushes, sponges, palette knives, or even household items like forks and credit cards.
- Experiment with layering: Vary density and color by layering different paints.
- Practice restraint: Too much texture can be unpleasant – less is more.
For an ‘oomph-ah’ moment, add depth and structure with long strokes or short stipples. Great painters like van Gogh and Monet used impasto techniques with textures. Start experimenting today!
Enhancing the Effect
To enhance the effect of your rustic project, like making something look old and rustic, there are a few techniques you can try. Using wax or glaze, adding details for authenticity, and applying aging and fading techniques are some solutions you can try. These techniques can add depth and character to your project and make it look more authentic.
Applying Wax or Glaze
Enhancing the shine of a vehicle is easy with wax or glaze. This method coats the surface with a protective layer, brings out the color, and guards against harm. Here’s a 5-step guide:
- Wash and dry the car
- Apply wax/glaze using a foam applicator pad
- If using wax, wait a few minutes then buff it off with a microfiber towel
- If using glaze, remove it with a microfiber towel instantly
- Repeat ’til you get the desired effect.
Be sure to research which wax/glaze is compatible with your car’s paintwork. Too many layers can be damaging, so be mindful not to overdo it.
Wax has been around for centuries. Ancient folks made it with animal fat and pitch. Later on, beeswax was a great protector against salt spray and sun.
Adding Details for Authenticity
Inject Authenticity into Writing with Specifics.
Elaborating on the details can make a narrative more believable. Include sensory aspects, e.g. smells, textures and sounds. Or, use cultural or historical references.
Add facts from multiple sources for depth. Describe customs and lifestyle of the era for context.
Include physical attributes to portray a character’s personality.
These elements improve plot credibility and linguistic authenticity.
For example, I read an article on wildlife photography. My friend had taken pictures at Kruger National Park. She described how she waited for hours to capture a shot of two elephants playing around her. This made me understand that her patience paid off for a great photograph.
In photography, aging and fading techniques are essential.
Aging and Fading Techniques
Aging and fading your images can give them a vintage look. Here’s a 3-step guide:
- Adjust hue and saturation to get a sepia-like tone.
- Layer noise textures for depth and grain.
- Blur edges to soften them and mimic wear.
To improve results, experts suggest using high-resolution images. You can also experiment with textures, layer modes, and blending options. For even more allure, edit in monochrome or use vintage filters before ageing techniques. Remember, imperfections make your rustic creation unique – like your ex made your relationship.
Conclusion: Enjoying Your Rustic Creation.
Achieving a rustic look is popular! Here are some tips:
- Start with the right materials. Look for wood or metal with visible age and wear marks.
- Distressed finishes like sanding, scraping or painting using dry brushing adds depth.
- Consider earthy colors like beige, brown and gray.
- Personalize it by hand-painting designs or unique detailing.
No single rulebook, but hopefully these tips help you create something special!